
What Are Car Door Projector Lights?
Car door projector lights — also called puddle lights or welcome lights — are small LED modules that replace your vehicle’s existing door bottom light. When you open the door, they project a crisp logo or pattern onto the ground beneath. It’s one of the simplest car upgrades you can do yourself: no wiring, no drilling, no professional tools required.
Whether you drive a BMW, Tesla, Audi, or Toyota, these projectors are designed as Plug & Play replacements — meaning they snap directly into the factory light housing using the original connector. The whole job takes about 5 minutes per door.
What You’ll Need
Most car door projector kits from Tech Realize ship with everything included:
- The projector module itself (pre-assembled with LED and lens)
- A small flathead screwdriver or plastic trim removal tool
- Alcohol prep pad (for cleaning the lens before final installation)
That’s it. No drill. No wire taps. No trip to the mechanic.
How Door Projectors Work (In 30 Seconds)
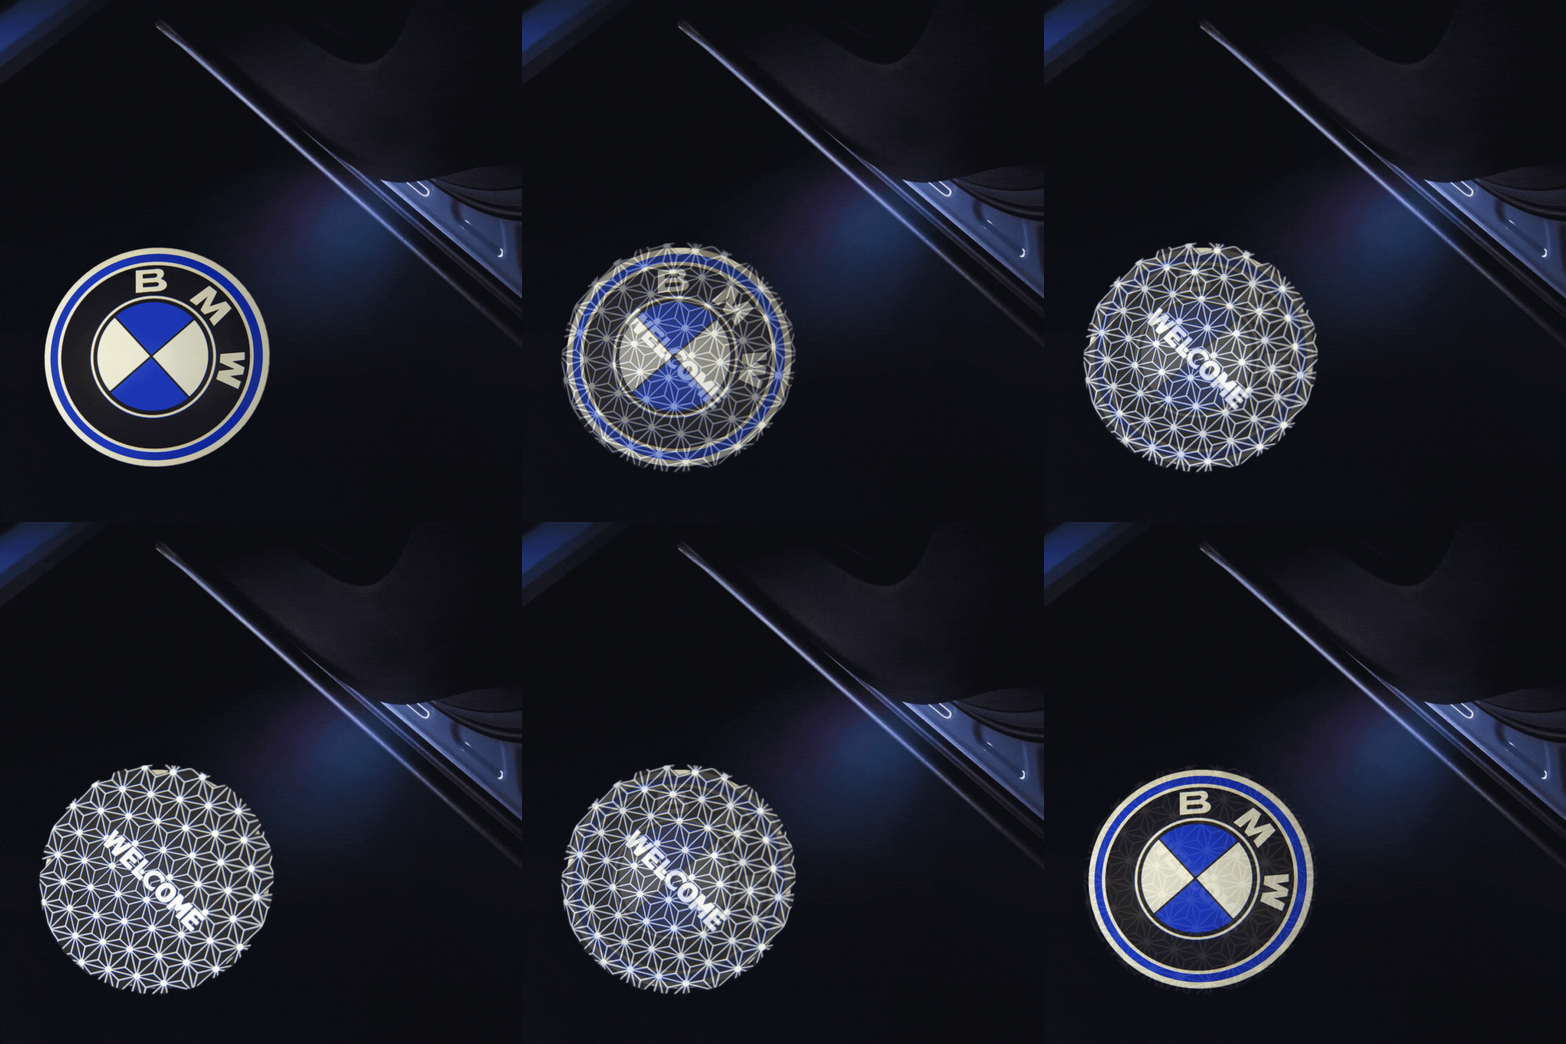
Your car already has a small incandescent bulb at the bottom edge of each front door. That bulb illuminates the ground when you open the door — it’s a safety feature. A door projector light replaces that entire housing. Inside the projector is a high-output LED shining through a precision-etched quartz glass lens. The lens focuses the light into a razor-sharp logo, even on uneven surfaces like gravel or wet pavement.
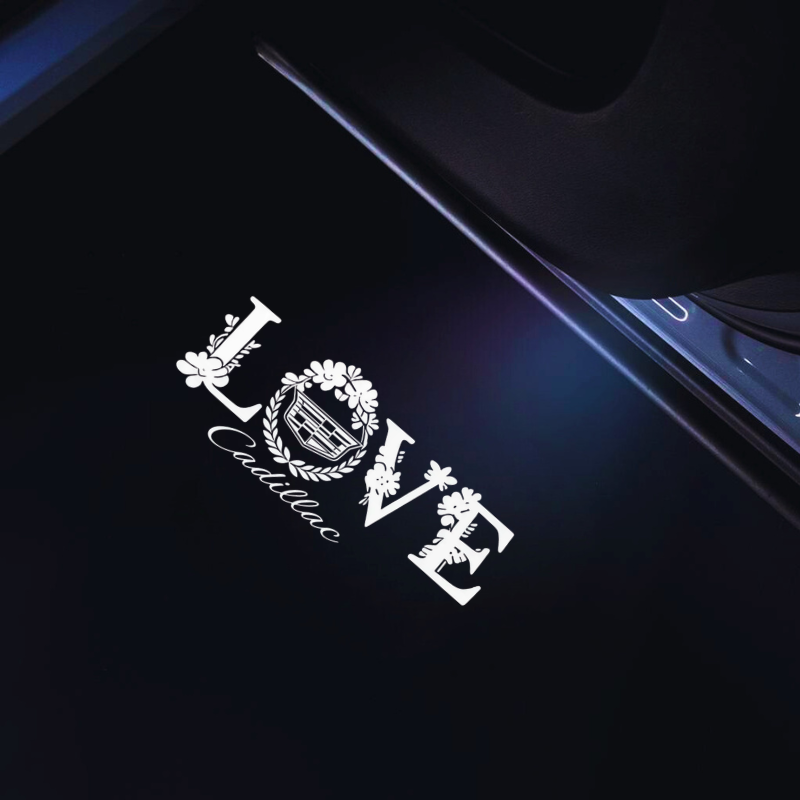
Dynamic projectors take it a step further: they use dual-lens optics to animate the logo as it fades in, creating a moving welcome sequence. Static projectors display a fixed, high-definition pattern — popular options include the LOVE heart design.
Step-by-Step: Installing Door Projectors
- Locate the factory light. Open your door and look at the bottom edge. You’ll see a small rectangular or oval plastic lens — that’s the original puddle light.
- Pop out the old unit. Use a flathead screwdriver or trim tool to gently pry one edge. The housing is held by friction clips — it pops right out. No screws.
- Disconnect the wiring harness. Press the release tab on the connector and pull it apart. Keep the old light somewhere safe — you can always swap it back.
- Connect the new projector. Plug the factory harness directly into the projector module. It only fits one way. You’ll hear a soft click.
- Test before snapping in. Hold the projector near the door opening and close the door to simulate the switch. Open it — the logo should appear on the ground. If it’s upside down, rotate the projector 180 degrees within its housing.
- Snap it into place. Once the orientation is correct, press the projector firmly into the door cavity until it sits flush.
- Repeat for the passenger side.
That’s the entire process. Two doors, under 10 minutes total.
Installing a License Plate Projector
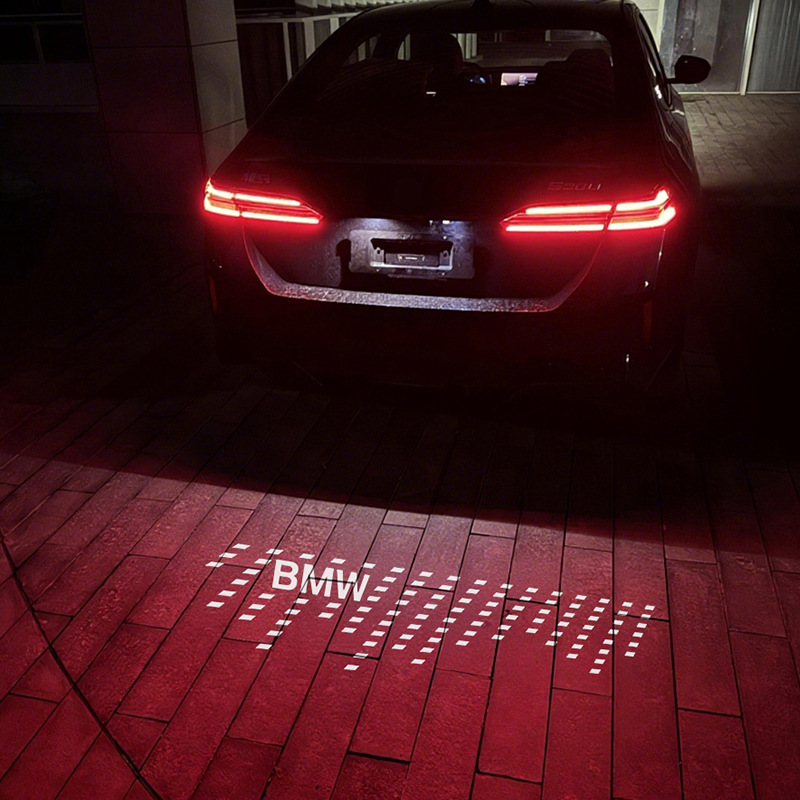
License plate projectors work slightly differently — they mount above your rear plate and project a logo downward behind the vehicle. The installation is equally simple:
- Remove your existing license plate light. On most cars, this is a single screw or clip above the plate.
- Unplug the old bulb connector.
- Connect the projector module. It uses the same factory plug.
- Adjust the projection angle. The lens barrel rotates — aim it so the logo lands where you want it behind the car.
- Tighten and test. Turn on your parking lights or unlock the car to verify the projection.
License plate projectors activate with your parking lights and shut off automatically once you start driving — no manual switch, no battery drain.
Pro Tips for the Best Result
- Clean the lens before final install. A quick wipe with the included alcohol pad removes factory residue and ensures maximum brightness.
- Test on a dark surface. Some garage floors reflect too much light — try testing on asphalt or a dark mat for the truest representation.
- The lens is directional. If your logo looks blurry, try rotating the lens barrel slightly — the focus sweet spot is narrow.
- Compatible with puddle light function. If your car has “approach lighting” (lights activate when you unlock remotely), the projector works with it — no coding needed.
Which Projector Is Right for Your Car?
Tech Realize offers projectors for most major brands. Here’s what’s available:
| Brand | Dynamic | Static (LOVE) | License Plate |
|---|---|---|---|
| BMW | ✓ | ✓ | ✓ |
| Audi | ✓ | ✓ | ✓ |
| Mercedes | ✓ | ✓ | — |
| Tesla | ✓ | — | ✓ |
| Cadillac | ✓ | ✓ | — |
| Toyota | ✓ | ✓ | — |
| VW | — | ✓ | — |
| Honda | — | ✓ | — |
All models use the same straightforward installation method described above. No brand requires special tools or procedures — the Plug & Play design is universal across the lineup.
Ready to Upgrade?
Installing car door projector lights is genuinely one of the easiest automotive mods you can do. It requires zero mechanical experience, takes minutes per door, and transforms how your car greets you every time you open it. Browse the collection below to find the right fit for your vehicle.
-
Sale!
AUDI license plate projector for A5 A6 A7 Q5 Q7 car decorative ground projector, Plug & Play, Set of 1
Original price was: $99.00.$49.00Current price is: $49.00. Select options This product has multiple variants. The options may be chosen on the product page -
Sale!

Audi Plug & Play Dynamic Logo Projector Puddle Lights – OEM Welcome Door Lights with Pattern Projection
Original price was: $109.00.$69.00Current price is: $69.00. Select options This product has multiple variants. The options may be chosen on the product page -
Sale!
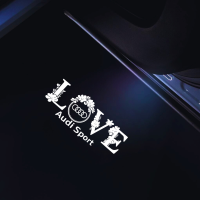
AUDI Welcome Lights Projector – LOVE Pattern HD Static Door Logo Light, Plug & Play for A3-A8(L)/Q3/Q5/Q7 Series (Set of 1)
Original price was: $79.00.$49.00Current price is: $49.00. Select options This product has multiple variants. The options may be chosen on the product page -
Sale!
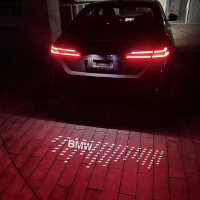
BMW license plate projector for 1 2 3 4 5 Series, X1 X3 X4 X5, i3 i4 i5, M3 M4 car decorative ground projector, Plug & Play, Set of 1
Original price was: $99.00.$49.00Current price is: $49.00. Select options This product has multiple variants. The options may be chosen on the product page -
Sale!
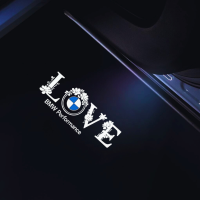
BMW Welcome Lights Projector – LOVE Pattern HD Static Door Logo Light, Plug & Play for X1-X7/3 Series/5 Series/7 Series (Set of 1)
Original price was: $79.00.$49.00Current price is: $49.00. Add to cart -
Sale!
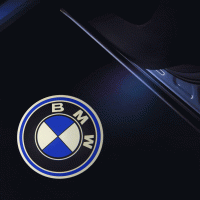
BMW Welcome Lights Projector – OEM Style HD Dynamic Door Logo Light, Plug & Play for X1-X7/3 Series/5 Series/7 Series (Set of 2)
Original price was: $109.00.$69.00Current price is: $69.00. Select options This product has multiple variants. The options may be chosen on the product page -
Sale!

Cadillac Welcome Lights Projector – LOVE Pattern HD Static Door Logo Light, Plug & Play for XT4/XT5/XT6/CT5/CT6/ATS/XTS/SRX Series(Set of 1)
Original price was: $79.00.$49.00Current price is: $49.00. Add to cart -
Sale!
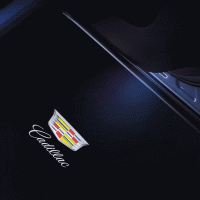
Cadillac Welcome Lights Projector – Premium HD Dynamic Pattern, Plug & Play for XT5/XT6/CT5 (Set of 2)
Original price was: $109.00.$69.00Current price is: $69.00. Select options This product has multiple variants. The options may be chosen on the product page
DIY Difficulty: Beginner | Time Required: 5–10 minutes per door | Tools: Flathead screwdriver or trim removal tool (included in kit) | Warranty: All Tech Realize projectors include a 1-year warranty against LED failure and lens fogging.